
How to play with rabbitmq and python quickly
Autored by Hervé Beraud on 28 May 2019
Setup RabbitMq server and play with it quickly by using python
Setup RabbitMq server and play with it quickly by using python
The goal of this post is to show you how to setup quickly a rabbitmq stack and play with it quickly by using python.
Now we will setup a fresh instance of rabbitmq by using the official docker image.
We also need to access to the dashboard to simplify debug and grab informations quickly
so we need to forward the web dashboard port 15672 to your host.
$ sudo podman run -d -e RABBITMQ_NODENAME=rabbitmq \
    -p 5672:5672 \
    -p 15672:15672 \
    --name rabbitmq rabbitmq:3-management
Now all the connections to the localhost on the ports 5672 and 15672 will be forwarded
to your instance.
Maybe you also want to know the IP address of the rabbitmq running container:
$ rabbithost=$(sudo podman inspect rabbitmq | niet '.[0].NetworkSettings.IPAddress')
$ echo ${rabbithost} # the rabbitmq host IP in my case
10.880.0.37
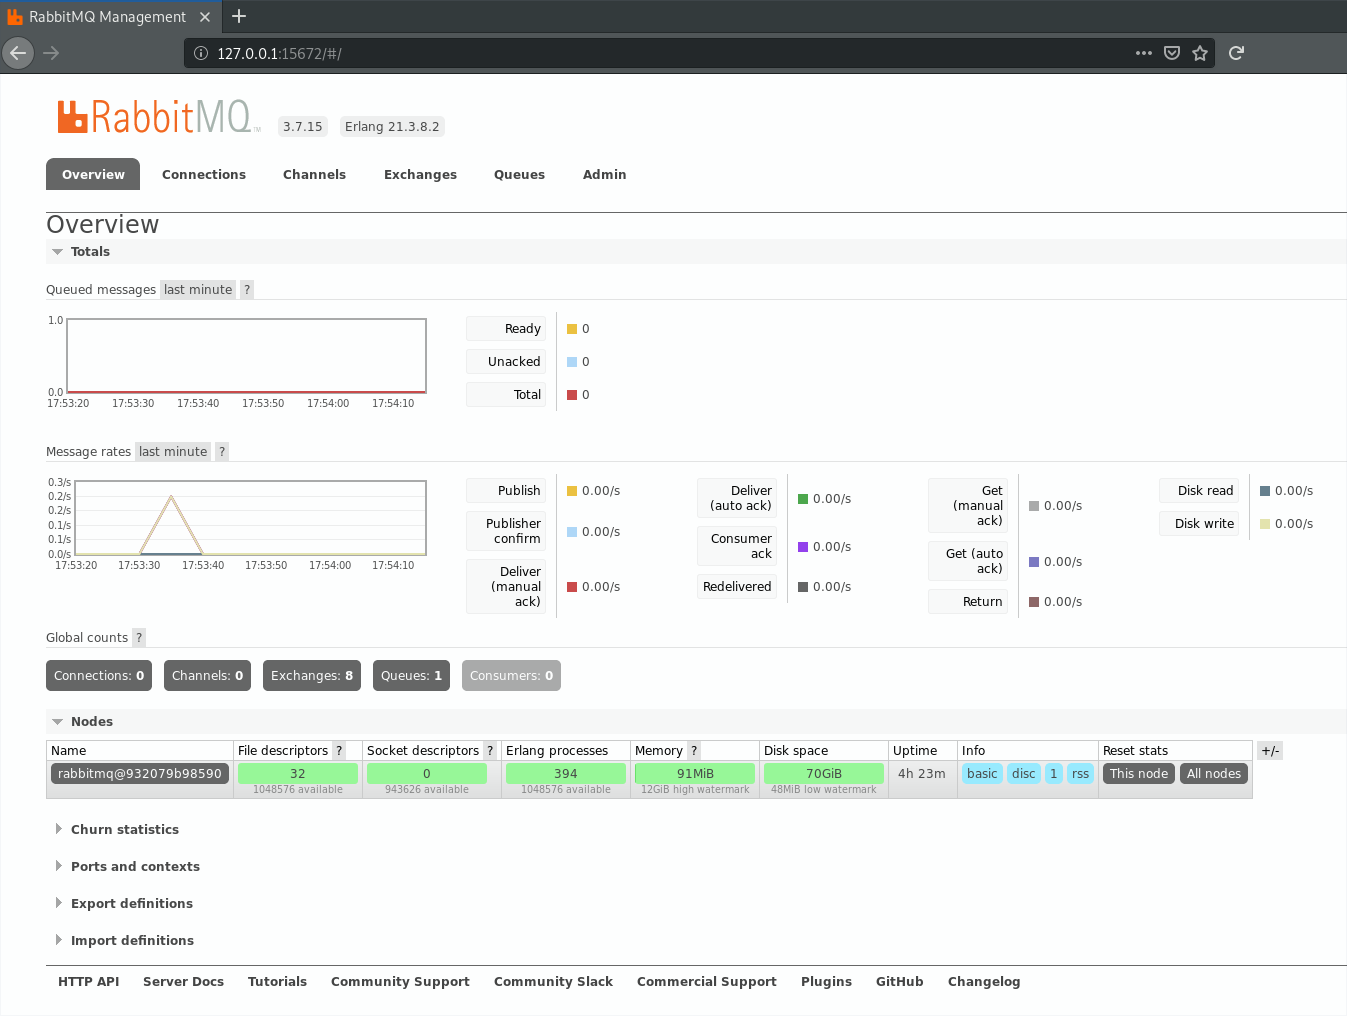
Now you can check that your instance work well by opening http://127.0.0.1:15672.
To play with rabbitmq you can use kombu and the amqp connections
You can by example define a customer who wait for queued messages published by a producer:
# customer.py
import sys
from kombu import Connection, Exchange, Consumer, Queue


def process_message(body, message):
    """the function who will process the published message"""
    print("The following message has been received: %s" % body)
    # Acknowledge the message
    message.ack()


def consumer():
    """the function who will handle the rabbitmq connection."""
    rabbit_host = "amqp://{host}:5672/".format(host=sys.argv[1])
    print("Connection to {host}".format(host=rabbit_host))

    # Create the connection
    conn = Connection(rabbit_host)

    # Create the exchange
    test_exchange = Exchange("test_exchange", type="direct")

    # Create the queue
    queue = Queue(name="queue", exchange=test_exchange, routing_key="test")

    # Create the consumer
    with Consumer(conn, queues=queue, callbacks=[process_message], accept=["text/plain"]):
        conn.drain_events()


if __name__ == "__main__":
    consumer()
The producer code who will publish a message in a rabbitmq queue:
# producer.py
import sys
from kombu import Connection, Exchange, Producer

def producer():
    rabbit_host = "amqp://{host}:5672/".format(host=sys.argv[1])
    print("Connection to {host}".format(host=rabbit_host))

    # Create the connection
    conn = Connection(rabbit_host, transport_options={'confirm_publish': True})

    # Create a new channel
    channel = conn.channel()

    # Create the exchange
    test_exchange = Exchange("test_exchange", type="direct")

    # Create the producer
    producer = Producer(exchange=test_exchange, channel=channel,
                        routing_key="test")

    # Publish a message
    producer.publish("Hello World!")


if __name__ == "__main__":
    producer()
Now you just have to start your customer/producer process and check your browser in parallel to observe the result.
Start your customer:
$ python customer.py 127.0.0.1 &
Connection to amqp://127.0.0.1:5672/
In an other shell start your producer:
$ python producer.py 127.0.0.1
Connection to amqp://127.0.0.1:5672/
$ # your producer have now publish your hello world and
$ # you can check the result in the webui
$ # or adapt the producer code to properly confirm the publish (already init
$ # during the connection)
Now observe your customer shell you will receive something like this:
The following message has been received: Hello World!
Also you observe the rabbitmq webui and see your queues and your published messages:
if you have expose your rabbitmq server on a public IP you can use podman inspect and niet to
retrieve it dynamically:
$ python customer.py $(sudo podman inspect rabbitmq | niet '.[0].NetworkSettings.IPAddress') &
Connection to amqp://<container-ip>:5672/
If you looking for more examples and utilities to play with rabbitmq you can take a look to the Gabriele Santomaggio rabbitmq-utils github repository.
You can find many examples on how to play/use rabbitmq and many utilities like VCLI tools, http utils, microservice demo, openstack examples by using oslo.messaging, rabbitmq with suse distro, etc…
Happy RabbitMq hacking to you!